Payment settings are where you connect the payment methods your customers use at checkout — such as credit cards or paying on account — to your store. You’ll find them under Settings › Payment.
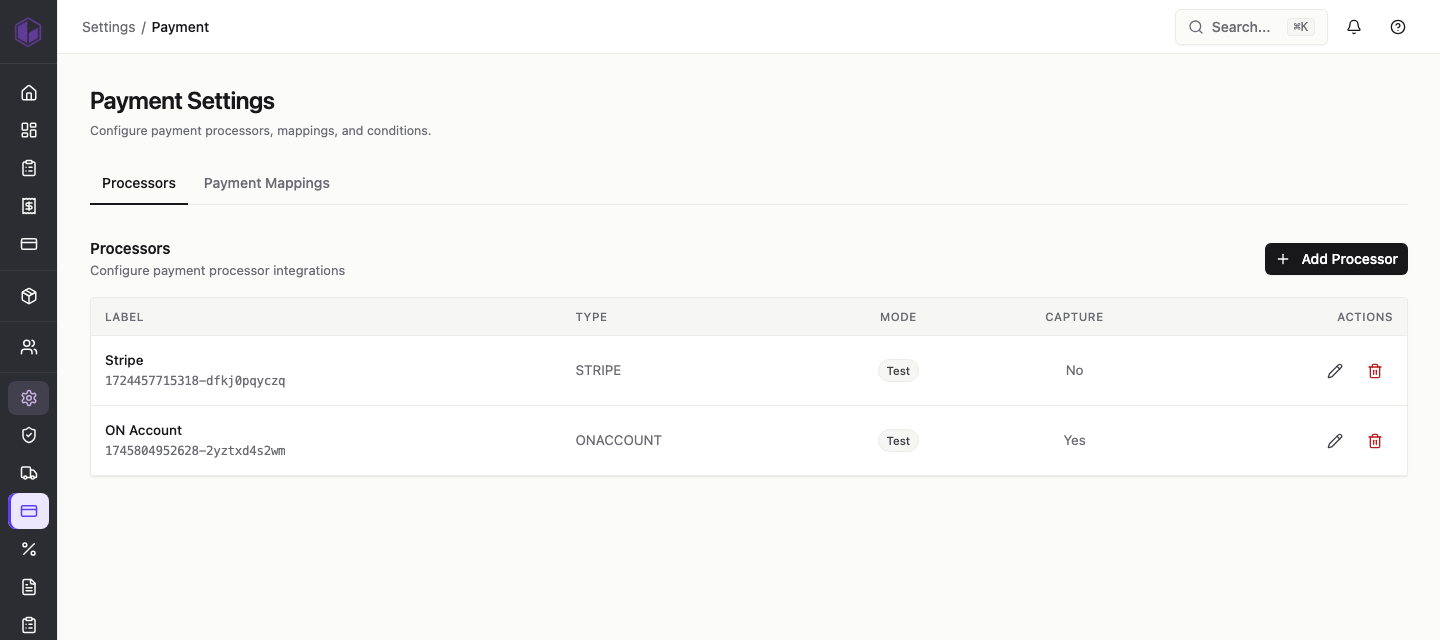
The two tabs
- Processors — the payment gateways your store uses to take payment (for example, Stripe), plus a built-in On Account option for customers who pay by invoice.
- Payment Mappings — how each payment method lines up with the matching payment details in your accounting system, so orders are recorded correctly. See the separate guide on payment mappings.
Reading the processors list
Each processor you’ve set up appears as a row with these columns:
- Label — the name you gave the processor, with a unique reference underneath it.
- Type — which payment gateway it is (for example, STRIPE or ONACCOUNT).
- Mode — whether it’s running in Test mode (for trying things out with no real money) or Live mode (taking real payments).
- Capture — whether payment is taken straight away (Yes) or only authorised now and captured later (No). More on this in the processor guide.
- Actions — the pencil icon edits the processor and the bin icon removes it.
Adding a processor
Use the Add Processor button at the top right to connect a new payment gateway. The next guide walks through this step by step.