Carriers are the shipping companies your store offers at checkout. Carrier mappings connect each one to the matching carrier in your ERP so orders and charges line up. This guide covers both.
Adding a carrier
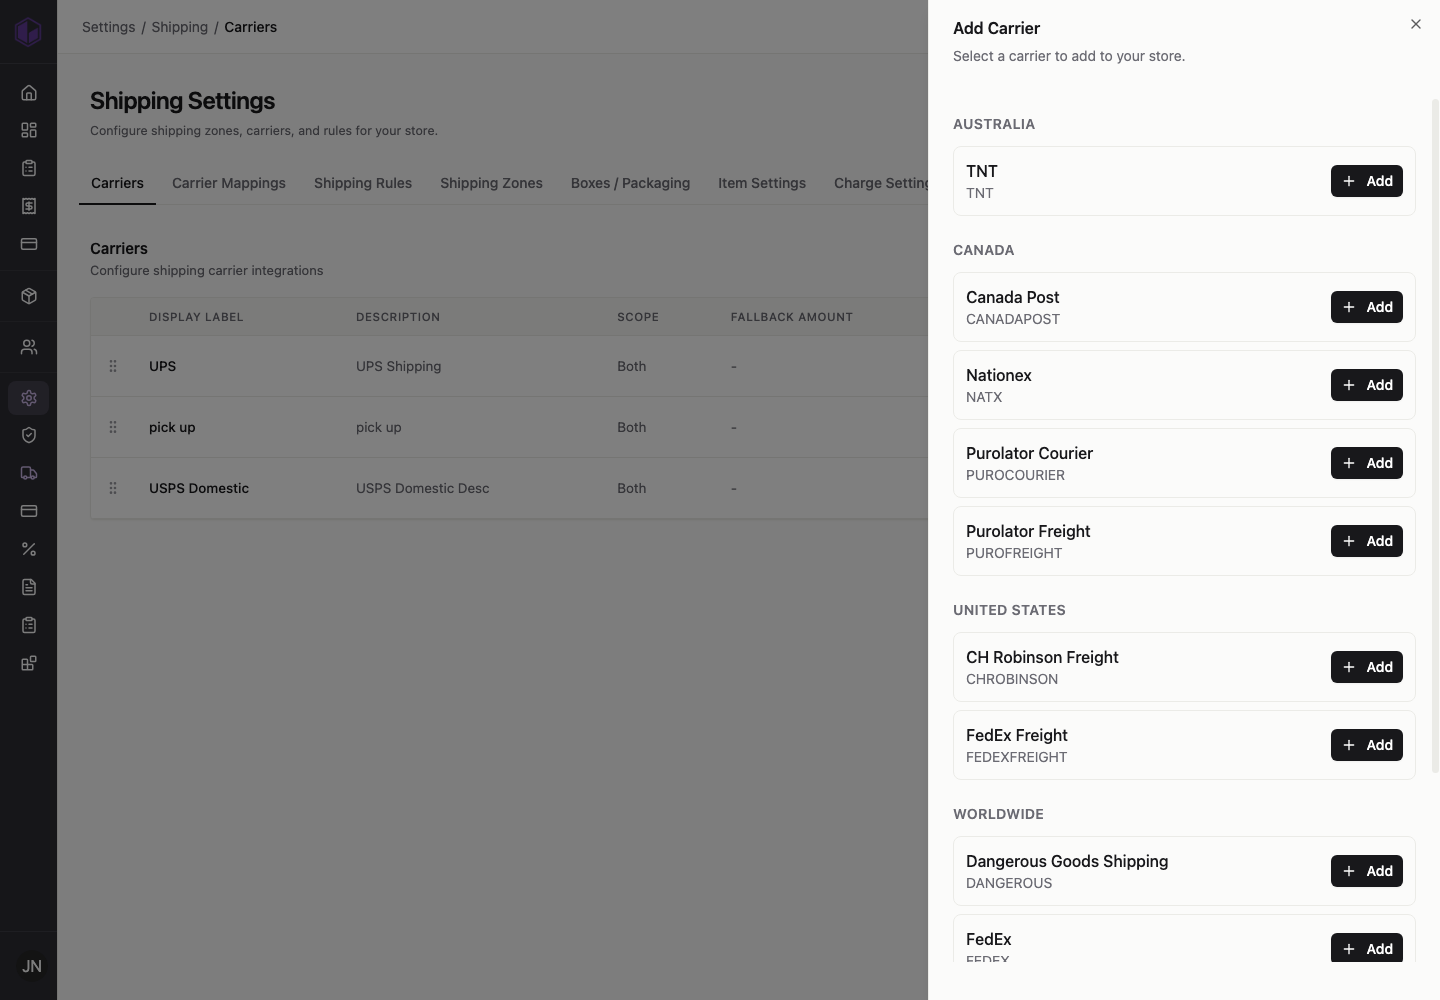
- Go to Settings › Shipping › Carriers. The list shows the carriers you already offer, with their display label, description, scope (B2B, B2C, or both), and fallback amount.
- Click Add Carrier. A panel opens with the supported carriers, grouped by region (for example Canada Post, Purolator, FedEx, UPS, TNT, and options like Free Shipping or Pick up).
- Click Add next to the carrier you want, then set its display label, scope, and a fallback rate (used if a live rate can’t be retrieved).
Adding a carrier mapping
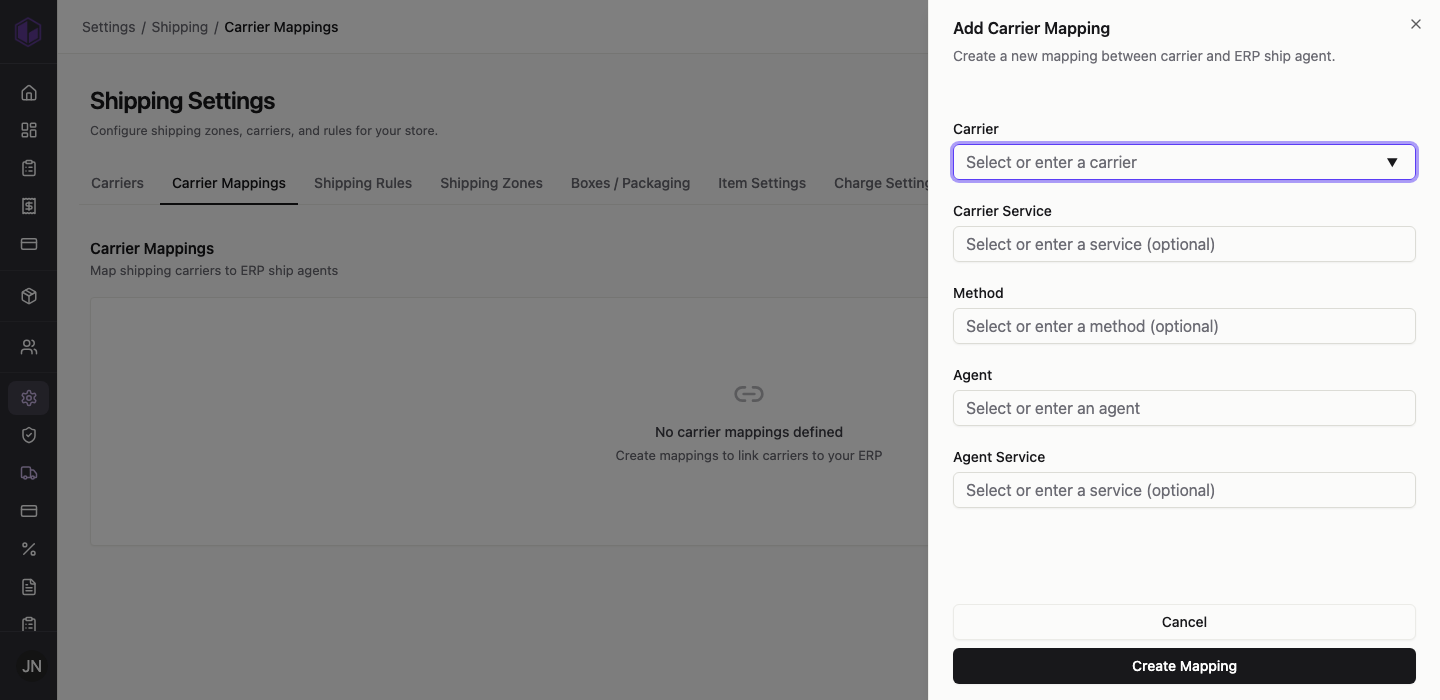
A mapping tells commercebuild which service in your ERP a storefront carrier corresponds to, so the shipping method and charge are recorded correctly.
- Go to Settings › Shipping › Carrier Mappings and click Add Mapping.
- Choose the carrier, and optionally a specific service and method.
- Choose the matching agent (the ERP carrier) and its service.
- Save the mapping.