Shipping settings control how your store quotes delivery to customers: which carriers you offer, the regions you ship to, how packages are measured, and how the shipping charge is recorded. This overview explains each part; the step-by-step guides for each one are linked at the end.
Where to find it
In your v5 admin, go to Settings › Shipping. The tabs across the top are the pieces of your shipping setup.
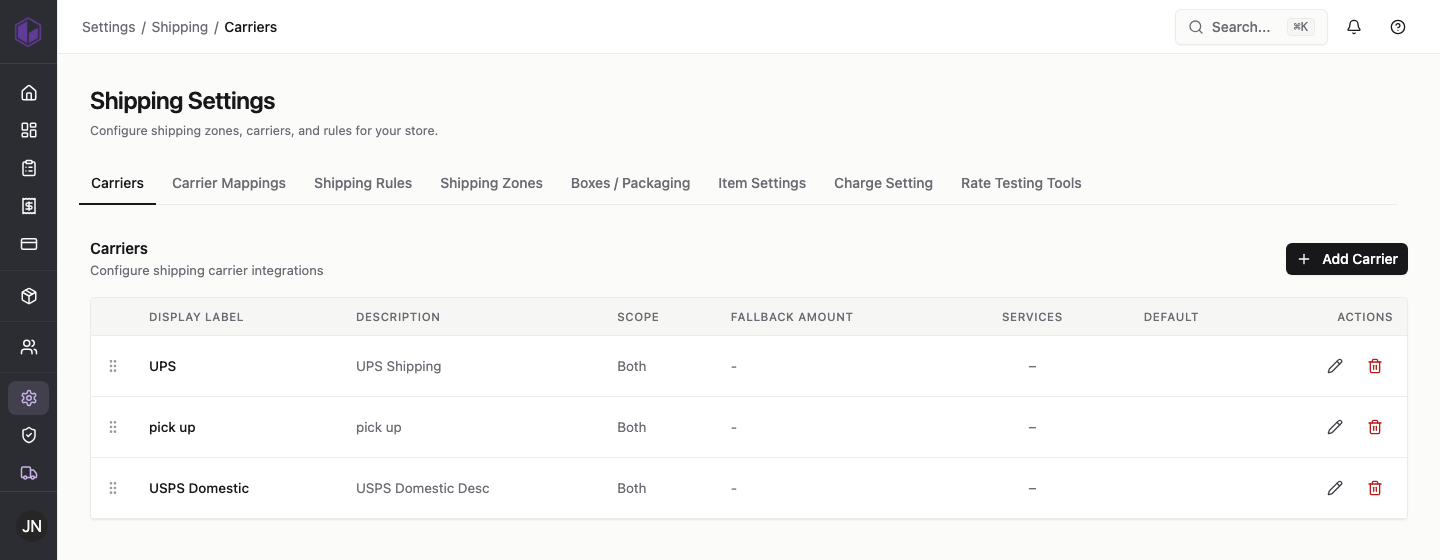
What each tab does
- Shipping zones — the geographic regions you ship to.
- Carriers — the shipping companies you offer (for example UPS, FedEx, Canada Post), each with a display name, scope, and fallback rate.
- Carrier mappings — connect each storefront carrier and service to the matching one in your ERP so orders and charges line up.
- Boxes / packaging — how items are packaged when rates are calculated.
- Item settings — the size and weight of individual products, used in rate calculation.
- Charge setting — how the shipping charge is written into your ERP.
- Rate testing tools — preview the rates a sample shipment would return, without placing an order.
- Shipping rules — an advanced editor for custom rate logic, intended for experienced users and developers.
A good order to set things up
Most stores work through it like this: set up your zones, add your carriers, connect them with carrier mappings, choose your packaging method, fill in item sizes and weights, set the charge setting, then confirm everything with the rate testing tools. Only touch shipping rules if you have advanced needs, and ideally with developer support.
See the detailed guides: shipping zones · carriers and carrier mappings · packaging and item settings · charge settings · rate testing tools · shipping rules (advanced).